
Wednesday, June 18, 2014
New Blog Location
I have moved my blog, if you'd like to keep up please visit www.kathryngodwin.com and you'll find it there!
Wednesday, April 16, 2014
Wall Mural Inspiration
This past summer I worked on a custom wall mural for a kids bonus room. I spent a couple weekends in July challenging myself in a completely new direction for me. It was a fun adventure to trust in the slinging of paint against a wall, and dripping from the Union Jack flag.
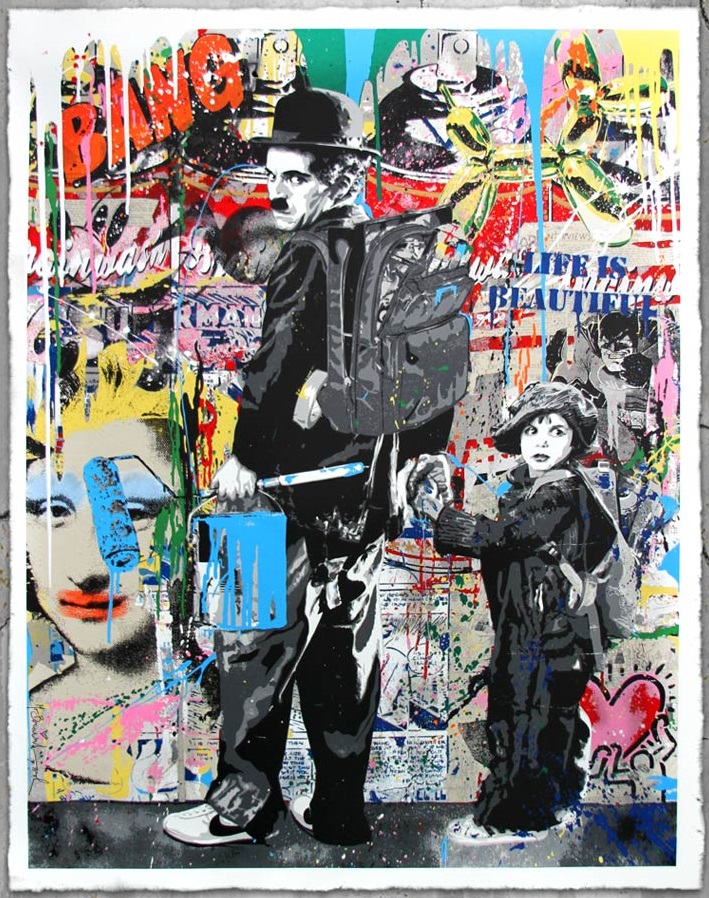
In the original consultation with the client, she brought a couple sample pieces of two artists. I thought I'd share some of the work I looked to while planning this installation. The first is the work of Mr. Brainwash you can read his wikipedia article. The second is the work of Banksy, here's his wikipedia article. If you'd like to watch an interesting Banksy documentary about Mr. Brainwash's rise to creating art, you should check out Exit Through The Gift Shop
In the original consultation with the client, she brought a couple sample pieces of two artists. I thought I'd share some of the work I looked to while planning this installation. The first is the work of Mr. Brainwash you can read his wikipedia article. The second is the work of Banksy, here's his wikipedia article. If you'd like to watch an interesting Banksy documentary about Mr. Brainwash's rise to creating art, you should check out Exit Through The Gift Shop
 |
| Via |
 |
| Via |
 |
| Via |
 |
| Via |
 |
| Via |
 |
| Via |
Wednesday, March 19, 2014
Starry Night Photo Shoot Prep
My third large scale freelance project after leaving Anthro was an exciting and new adventure. Thanks to the magic of Instagram, I was contacted by the art director of Charlotte Wedding Magazine, to collaborate on their fashion shoot for their Winter Issue. I painted a 10x12 foot backdrop to look like a swirling midnight sky, and also created a giant moon for the model to sit on. I shared some of the process below!


I used 2x4's to built a small bench, about a 2 foot cube, that the moon was attached to with screws. The 2x4s were painted the same color as the backdrop to blend in. I used foamcore for clouds and dusted them with a little spray paint for color, and a thin chipboard cut into stars painted with silver and gold. The addition of both these elements helped create a nice depth within the shallow space and gave the shot a little more playfulness.
I'll be sharing the final shots from the magazine soon, so be sure to check back!
Painting a rather large surface may be easiest outside. I laid down a plastic tarp and used painter's drop-cloth for the actual backdrop.
I worked with two colors, a deep navy and an off-white, watering both down and mixing some for a middle tone. I painted in circular strokes to slightly blend the colors together into a cloudy atmosphere.
The upper right corner was lightest, and darker as I worked outward.
The tarp took 12-15 hours to dry (which could have been due to the humidity and dew that set overnight).
Drying backdrop from other angle- you can see the swirling colors a bit more.
I used 1/2 inch sand ply for the moon. I purchased a 4x8 foot sheet, but knew it wouldn't fit in my car, so had it cut down to a 3 foot width and used the extra piece to extend the point of the crescent moon.
The pieces were supported from the backside with 1x2 inch pieces of wood that were glued and attached with small wood screws.
The front surface was then primed with Kilz and then painted with the same off-white used for the sky.
A sunny yellow was used to add surface texture and color variation to the moon.
The yellow was mixed slightly with the off-white and pounced onto the board.
As the paint dried, I sprinkled a fine pearlescent glitter over the moon and then sealed with polycrylic.
I'll be sharing the final shots from the magazine soon, so be sure to check back!
Wednesday, March 12, 2014
Birdhouse Playroom Bookshelves
A couple months ago, I completed a project for a playroom. The client was inspired by a cubby structure I had built at Anthropologie that staggered up from the floor with birdhouses mixed in. She was looking for a modern, but playful take on bookshelves for a play area. She also wanted it to be sophisticated, as it opened up to their foyer. We worked to chose the pop colors of the birdhouses, and matched the white to the Ikea cabinet with the birch doors. While I was packing up, the little girl was already working to move her toys into the bins, and deciding where to put her toy birdie, so I would say it was a successfully completed job!


And here's a bonus: what my living room looks like when I work on large scale projects!

Wednesday, March 5, 2014
Graffiti Wall Mural Behind the Scenes
Last summer, I had the incredible fortune to be asked to do a custom mural for a kids bonus room. The owner was a dream to work with, as she brought incredible artists and inspiration images to our first consultation. We worked from images of Banksy's work, as well as Mr. Brainwash, building upon a London Underground, hard rock theme. I worked on sketches and upon her approval, began to prep the repurposed images and source a drum set on craigslist. I had the month of July to create the piece while they were away, and completed it just in time for their return! Here's a peek behind the finished product!


Friday, February 28, 2014
My Handmade Wedding

Sunday, February 9, 2014
Vancouver Craft Store Inspiration
A couple years ago, I had the incredible fortune to visit Vancouver working an Anthropologie store opening. I recently was digging through my computer folders and came across some images from that inspiring trip. Thanks to Design Sponge's city guide at the time, I found a clever little craft store that every city needs! Sadly, I think it has been removed from the most recent version of the city guide, however you can find information directly on Urban Source's site.


Urban Source is on Main Street, a bustling area of town filled with local shops and delicious restaurants. There was such fun and random little oddities that were a delight to discover, and I returned twice after my first visit over the course of the trip! What makes this store so great is shared on their main page:
"We collect from over 100 different local industries, diverting safe, useable
off-cuts, discards, misprints and over-stock from the land fill. Materials
are then sorted, organized and prepared for the store."
Upon entering the store, you are prompted to chose which size brown paper bag you'd like (think snack size, lunch-bag, or grocery bag size). You then fill the bag up with whichever items you chose from their bins.
Reasonably, there are some quantity limits for certain items- only 3 slides per bag, or you can pay a flat 45 cents.
They also sold rolls a various papers, thin sheets of wood ply, specialty sheets of paper.
Using the materials and objects they sell, they've created whimsical creatures that peer down from shelves or hover overhead as you shop.
The train may be one of my favorites….
But so is this baby elephant!
And I love the frame in which this jelly fish is hanging!
Subscribe to:
Comments (Atom)